Tuesday, March 10, 2015

Get it before it's gone - Seasonal Expressions 1


Welcome to the Brae-er's Circular Blog Hop!  This month we are focusing on the products we love from the Seasonal Expressions 1 Idea Book.  Many of the fantastic items in this book are only available to order until the end of March. Hopefully, you will be inspired by the blogs in this hop and get your Seasonal Expressions 1 items before they are gone forever!

There are so many great products to choose from: Heartstrings paper pack and accessories (it's one of my favourite CTMH papers ever), Hopscotch paper pack and accessories, You're The Bomb stamp set (which features many great sayings), the puffy stickers and so much more. 

The product I choose to focus on is the Hopscotch Picture My Life (Z3045). There are enough cards in one small pack to make so many things.  I made two My Creations Mini Books (Z3044 and Z3043).  (These Mini Books were introduced in the Seasonal Expressions 1 Idea Book but they will continue to be availalbe after March.)

One book is  an overview of the four seasons of 2014, while the other is more of a journal about me (my favourite things, friends, etc.)  Completing these two books took less than half the Picture My Life cards leaving enough to complete some standard scrapbooking layouts, Picture My Life pocket scrapbooking layouts and even greeting cards.  The possibilities for these cards are endless! Better still, the cards make projects so quick to complete. 

The Hopscotch paper and Picture My Life series are so bright and colourful - applicable to so many situations.  I also like that many of the PML cards focus on happiness -  a concept that should be celebrated.

Now all I need to do is add photos, stamps and other items to personalize my mini albums even further!

Here are a few of the pages:

Year in Review - The Four Seasons mini album

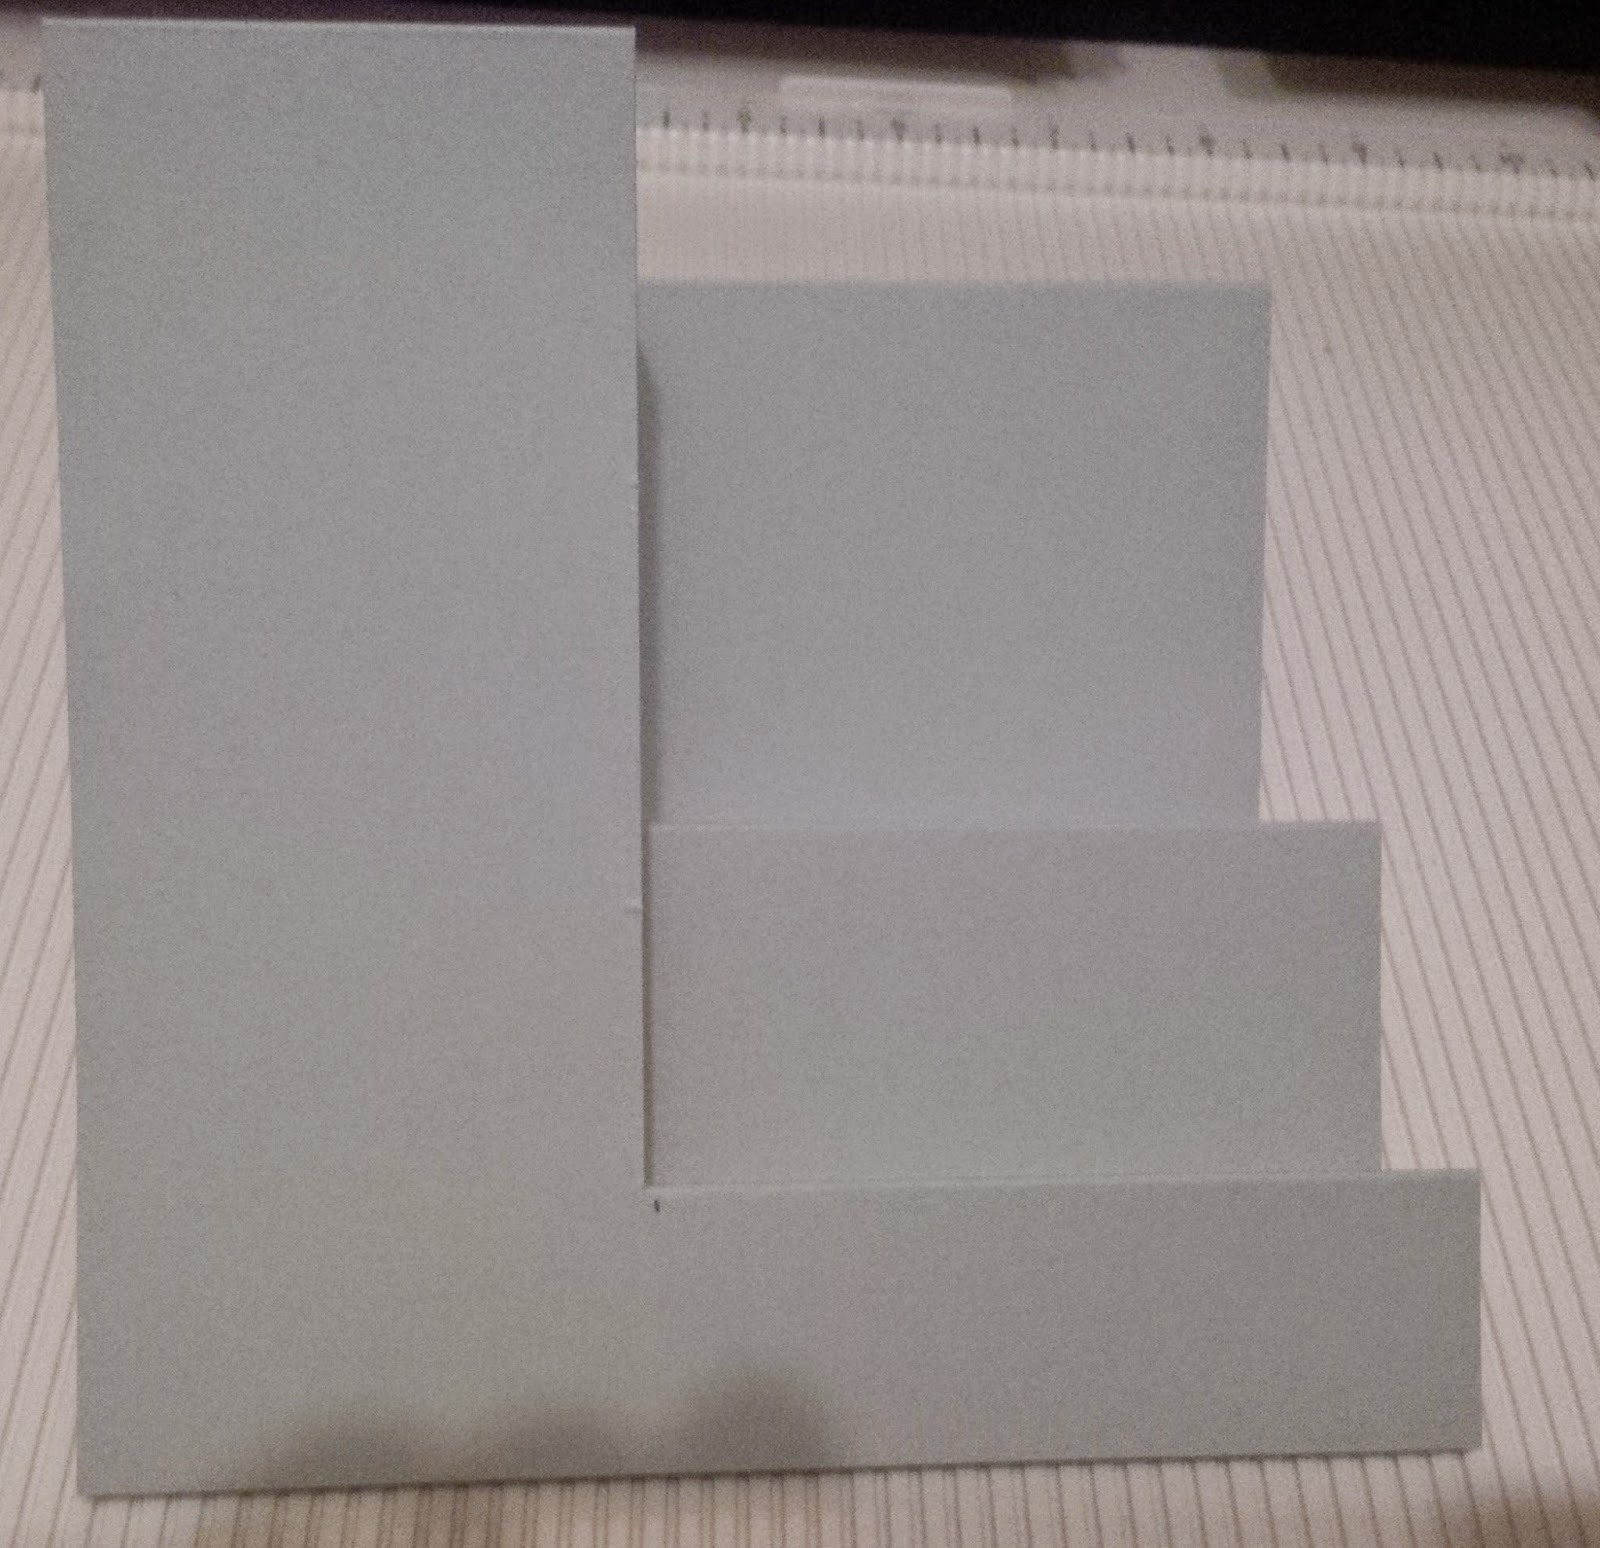
Layer two 4"x6"cards for the cover design

Add personal details to this card.  I am
going to add the numbers so that the card says Happy 2014.

Beside the winter themed card, add a 3"x 4" picture.

On the cloud and rainbow card you can add photos or journaling
to celebrate your Spring highlights.

Add a list of summer highlights to the flower card.

Add a fall themed photo to the ornate orange frame card.


All About Me mini album


For more information on Hopscotch Picture My Life or other Seasonal Expressions 1 products speak to your CTMH consultant or check out my website at kwregion.ctmh.com.

Now check out the next blog in our hop:Jessica Fenn Hill's Create by the Lake 

Tuesday, February 24, 2015

Exclusive Inks™ Re-inker and Spray Pen

Picture My Life™ scrapbooking programs


So many great things can be made with Picture My Life!  Obviously, the sets are created for perfect pocket scrapbooking; however, the cards can also be used to create more traditional scrapbook layouts, greeting cards, mini albums and so much more.  Check it out:


To order Picture My Life sets, check out my website: kwregion.ctmh.com


Cricut® Artfully Sent: Sleeve Function

Sunday, February 22, 2015

Hopscotch and Heartstrings Side Step Cards

Singing Butterfly Adornments
Darcel Kirvan – An Independent Close to my Heart Consultant

Side Step Cards
This style of card is actually very easy to make, but the depth and dimension make it look complex.  You will impress friends and family alike.  (My husband asked if the cards were cut on the Cricut.)

Supplies Needed:
-          Cardstock and decorative papers
-          Pencil and eraser
-          Paper cutter (or craft knife and cutting mat)
-          Scoring tool and board (or paper cutter with scoring element)
-          Stamps and inks or die cut images to decorate the card
-          Adhesive of choice

Instructions for a 5”x7” Side Step Card
1.            Choose the cardstock you would like to use for the base of your card and cut it so that is                   measures 7” x 10”.

2.            For ensured precision, I like to use small pencil markings where the cut and fold lines will be. (You can skip this step if you are confident or if you are well acquainted with your paper cutter and scoring board.) Use your ruler or cutting board to measure all of the markings and indicate with small pencil marks.  (See dimensions in steps 3, 4, 7 and 8 or refer to cutting and scoring diagram.)

3.            The first cut will be made 2” into the paper (or for a slightly wider frame use 2.5").  I usually make a pencil mark on both ends of the paper and match up my cutting board to those marks.  The marks should be made on the short side of the paper (7”).

4.            The cut is made 2.5” in from the left side of the paper.  Line up your paper on your cutting board.  Place the cutting blade 1” down.  The cut will run from 1” to 7.5” down.  (Use the arrows on the cutting blade to line up the proper dimensions.) 


5.            Cutting is now complete.

6              Place your cardstock on your scoring board.  Make sure the 10” side is running along the upper edge of your scoring board.  The score marks are going to run from the edge to the cut line.  

7.            Score the paper at 1” down, 2” down, 3.5” down and 7.5” down.  Run these score marks from the edge of the paper to the cut line.  The score marks should be 5” in length.   

8.            Do not move the paper.  Now score the entire width of the card at the 5” mark.  This score line will provide the middle fold line for your card.

9.            Remove your cardstock from the scoring board. It is now time to fold the card.  I like to start with the middle fold, but you can begin at the bottom and work to the top (or vice versa.)

10.          Now to fold the steps of the card.
a) Fold the first score line (1”) with the score line upward (mountain fold). 
b) Fold the second line (2”) with the score line downward (valley fold).
c) Continue on in this pattern – up then down or mountain then valley fold.  Third line (3.5”) is up/mountain.  Fourth line (5”) is down/valley.  (You will actually be reversing the existing fold if you starting by folding the card in half.)  Fifth line (7.5”) is up/mountain.

Your folded card base should now look like this:


11.          Decorate with stamps, die cuts and paper as desired.


Tip:  You can reverse the card and have the steps on the left side.


Alternate option: a 5”x5” card

This option creates a square shaped side step card. 

1.       Cut your cardstock base so that it measures 5” x 10”. 

Paper saving tip: If using a 12” piece of cardstock, you can create two card bases from only one sheet of paper.

2.       Use the same dimensions for cutting and scoring as used in the 5”x7” card above. Use the same folding instructions as well. (Steps 2 through 10.)

3.       Decorate as desired using paper, stamps and die cut images.


Supplies Used

Monster 5x5 card
Presents, birthday hat and cake slice stamps from A1143 Teddy Bear Birthday
Monster stamps and “love ya silly” sentiment from B1470 Love Ya Silly
“birthday wishes” phrase from D1514 Just a Number
Phrase balloon from S1404 Balloon Talk
Cardstock – Colonial White, Sky Blue plus B&T duo Heartstrings
Inks – Cranberry, Lagoon, Blue Sky, Whisper, Hollyhock
Plus lagoon markers,  and current Peony Shin Han marker


Cupcake 5x5 card
Cardstock – Colonial White
B&T Hopscotch
Stamp set – cupcake, display tray and “everywhere” phrase from  S1412 Cute Pie
“birthday greetings” phrase from Just a Number D1514
Inks – cupcake in Flaxen, sponged with  and marker Cherry Peony
Indian Corn Blue, Ponderosa Green

Tuesday, January 13, 2015

Team Brae-er blog hop - Year Noted


Time for another Brae-er Team Blog Hop: Year Noted

This hop was inspired by the January Close to my Heart promotion to celebrate National Papercrafting Month :Year Noted.  

If you have come from Heather Steeves  blog then you are on the right track.


*  *  *

To celebrate National Papercrafting month, the Close to My Heart Year Noted kit includes patterned papers, cardstock, foil stickers, a C sized stamp and the My Creations kraft mini book all for only $10!  So many possibilities - from the Year Noted mini book to scrapbook pages or cards.  The question was which project to focus on. (Especially since the kit contains seven different patterned papers (if you include the six 4x6 pieces. These 4x6 pieces are perfect for card making.)

I decided to make cards focusing on a Valentine's Day theme; however, the minty green and peachy orange colours could be used for so many occasions: birthdays, Mother's Day, new baby, spring, summer etc.

Card #1


The LOVE mask was created using the  Artfully Sent Cricut cartridge (page 35, Pocket Card option + shift). The flower petals were created using the Year Noted stamps. The center of the flower is a circle foil sticker from the Year Noted kit.  (The hearts stamped on the sticker were created using the brown Staz On ink, with the double heart stamp from the Forever in My Heart stamp set.)  The black arrows were created using the Black Arrow Washi Tape pressed on top of Year Noted paper.

Card #2


Cut the heart and arrow card from the Artfully Sent Cricut cartridge (page 36, Pocket Card option + shift). Back the die cut card with a piece of patterned paper from the Year Noted kit.  Use the gold foil stickers in that kit for the small heart and the arrows.  Using Juniper ink, stamp the "Love You" sentiment from the Happy to Be Friends stamp set on the bottom of the card.  Cut a square from another patterned paper in the Year Noted kit and place the die cut card on a diagonal on top of that square.  Create the card base using Kraft cardstock.


Card #3


Create card base using Kraft cardstock.  Stamp the heart image from the  Forever in My Heart stamp set on white cardstock and then fussy cut the heart shape. Stamp the arrow images from the Year Noted kit using Sorbet ink.  Stamp the square border (also from the Year Noted kit) using Sorbet ink along the bottom edge of the patterned paper.  Attach the heart to the rectangular piece of patterned paper using dimensional adhesive.

Clean your stamp and then use the square border with Juniper ink on the white cardstock rectangle. Attach the diamond patterned paper to the white cardstock. Attach this piece to the card base.  Finally, attach the rectangle with the dimensional heart on top.

Stamp a sentiment inside the card as desired.

Materials Required:
- Year Noted Kit
- Black, Juniper and Sorbet Exclusive Inks (plus brown Staz On)
- Stamp sets: Happy to be Friends (C1605) and Forever in My Heart (C1604)
- Artfully Sent Cricut cartridge
- Black Arrow Washi Tape (Z2003)
- kraft cardstock
- adhesive of choice


Thanks for visiting my blog!    
Darcel

For more information: contact me at closetomyheartkw@gmail.com
or check out my website at kwregion.ctmh.com.


* * * * * *
I hope you have enjoyed your stop here. Be sure to visit your consultant's website for more information about the fantastic January promotions. 

Now on to the fearless team leader Brae's blog

Enjoy the tour!

Thursday, October 16, 2014

SSSHH!!!! November is the month for DIGITAL SCRAPBOOKING!

November marks the five-year anniversary of Studio J®, and that means it’s your lucky month, with five amazing ways to win through Studio J and Close To My Heart social media!
 
First, throughout the month of November, all layouts purchased in Studio J are $5! That is a savings of over 25% off of retail!      
 
Your second chance to win big must come by sheer luck: every fifth order placed in Studio J during November receives a FREE surprise Close To My Heart accessory in its shipping box! The accessory has a retail value of $5 or more.
 
If luck doesn’t smile on you in that way, you might stumble upon it by finding a little extra something in your Studio J box. Five “golden tickets” will be sent out during the month of November with randomly selected Studio J print orders! This “golden ticket” is redeemable for one of Close To My Heart’s new D-ring albums* loaded with 10 Top Load Memory Protectors™.
 
For a fourth way to win, simply create new, gorgeous layouts in Studio J, select your favorites, and then post pictures of them on Close To My Heart’s Facebook page using the hashtag #ctmhlucky5. After November 30, five lucky winners will be selected from the entries based on their artistry and creativity and each of these winners will receive their own D-ring album loaded with 10 Top Load Memory Protectors!
 
And there is one last way to win: take your new Studio J artwork and post a picture of it on Instagram using the hashtag #ctmhlucky5. Just as it is with Facebook, after November 30, five lucky winners will be selected from the entries to receive their own D-ring album loaded with 10 Top Load Memory Protectors!
 
Plus, there is a bonus Consultant-only way to win. After the campaign has ended, the top five Consultants who had the greatest number of customers who order during the campaign will also get a D-ring album loaded with 10 Top Load Memory Protectors! This sixth way to win is only open to Consultants, so make sure to encourage every one of your customers—new to Studio J or not—to start designing now.
 
And to make things even more exciting, starting November 1, five brand new kits from the Annual Inspirations idea book will be made available in Studio J, so you can create new artwork using the latest papers and embellishments from Close To My Heart. With so many ways to win, five may be your new lucky number! Log in to Studio J and start creating today.
 
*Offer valid November 1–30, 2014. Pattern and color of new D-ring album to be given to winners will be at Close To My Heart’s discretion based upon availability. New kits available in Studio J® on November 1 include Confetti Wishes, Snowhaven, Seaside, Pathfinding, and Scaredy Cat.
 
No tax or shipping will be charged on the free item(s). Studio J layouts ship in a protected box that can hold 4 to 50 two-page layouts. For additional information about shipping/handling, please visit StudioJ.com.

Dates: Offer valid November 1, 2014–November 31, 2014.