Monday, September 4, 2017

Masculine birthday cards


The design of this card was inspired by some cards I saw on Pinterest.  

Math and measuring aren’t my strong point … this card took some time to figure out, but I am very pleased with the result. To figure out the key sizing, I started by measuring the saw and hammer stamps.  I had to add some more length to the rectangle for the hammer to balance the design.

The finished card is 5" x 7".

The white background is 4 ¾” x 6 ¾”.

Pieces from top left to right:
1 (top left corner) light grey colour 1 ¾” x 1 ½”
2 (top middle) dark blue colour 1” x 1 ½”
3­ (top right corner) light blue colour  1 ½” x 3 ¼”
4 (middle row, left side) medium blue colour 2 7/8" (¾” + 1/8")  and 3 ¼”
5(middle row, right side) dark blue colour  1 ½” x 1 ½”                               
6 (bottom row, left corner) dark blue colour 1” x 1 ½”
7 (bottom row, right corner) light grey colour  3 ½” x 1 ½”


Close to my Heart stamp sets used:
Hammer, saw and hand drill are from C1571 You’re the Best
“Happy happy birthday” sentiment from M1142 Happy, Happy Birthday

Ink colour: Outdoor Denim


Alternate design:


CTMH stamp: C1506

Saturday, March 11, 2017

Using Workshop Your Way layout designs for inspiration

Close To My Heart's Workshop Your Way kits are so versatile.  They give you three two-page layouts that are beautiful and easy to assemble, as well as a bunch of card options.  Or as the title implies, you can use the papers, complements and accessories from the kit to make things your own way.

Once finished with a kit, hold on to the layout instructions for future use.  You can change up the papers and accessories for brand new looks using the same layouts.

I am currently working on a travel scrapbook using the Dreamin' Big papers.  I am using existing layout designs (from other WYW kits and CTMH books) so that I can create lots of pages quickly.

Here are two layouts I created using other WYW kits for inspiration:

Layout #1
For this one, I used the Sugar Rush Workshop Your Way layout #1 design with Dreamin' Big papers. complements, sequins and coordinating cardstocks.


Layout #2
This one is inspired by the City Sidewalks WYW layout #1 .  (I haven't decided which part of the trip to feature on these pages yet, so I haven't added a title or themed accents.)


Right hand page


Materials used:
Dreamin' Big paper pack X7218B
Dreamin Big' Coordinating Cardstock Z7218D 
Dreamin' Big sequins Z3315
Dreamin' Big complements X7218C


Thursday, March 9, 2017

Dreamin' Big travel scrapbooking

Thanks for visiting the Team Brae'er Blog Hop.

Dreamin' Big is a beautiful new paper collection from Close to my Heart. 

The Glacier, Poppy, Sorbet and Goldrush colours remind me of water, sun and sand.  The corresponding Complements use words like explore, happy place and adventure which screams travel to me.  This combination inspired me to make an album documenting a Caribbean trip.  

Here is one of my two page layouts:


Left hand page

Right hand page

CTMH materials used:
Page Design: Make It From Your Heart Volume 1 - pattern #4 (page 12 & 13) -
Patterned Paper: Dreamin' Big (X7218B)
Title and accent stickers: Dreamin' Big Complements (X7218C)
Sequins: Dreamin' Big Sequins (Z3315)
Base cardstock: Sorbet X5751)
Other cardstock used: Juniper (x5752), Black (1386), White Daisy (1385)

Thanks for visiting and enjoy the next page in our blog hop: Michelle Hughes

Thursday, September 22, 2016
Fall Colours


Today on the first day of autumn, I was inspired to create a simple card using fall colours and the autumn images from the September CTMH Stamp of the Month - S1609 Blessed Beyond Measure.


Color inspiration from:


Thursday, May 12, 2016

Pleated Skirt Fold/Drapery Fold Card

Singing Butterfly Adornments
Darcel Kirvan – An Independent Close to my Heart Consultant

Pleated Skirt Fold/Drapery Fold (May 2016)
Supplies Needed:
-          Scoring board & tool        - paper cutter (that can cut wide, angled pieces)
-          Double sided 12/12 sheet of patterned cardstock (for skirt fold)        
-          Card bases (A2 ideal size) or cardstock to make the base     - Pencil and eraser          - Adhesive of choice
-          To decorate: other papers, stamps and inks of choice, ribbon, shimmer trim or washi tape, other accessories

Cutting Instructions
Use an A2 card base (4 ¼” x 5 ½”) – vertical orientation.

1.  Choose a  12” x 12” double sided patterned cardstock.  Ideally it should have a medium or large print on one side and a small print on the back.

2.   Cut the patterned cardstock at 7 ¾” x 3”.

3.  On the right side of the paper, make a mark 1¼” down from the top corner.  On the bottom of the paper, make a tick mark 3” from the left corner.

4.   Cut the paper from mark to mark to create the angle.

Scoring and Folding Instructions
5.  Score the paper with the long uncut side at the top.  Score at: 3”, 3 ½”, 5” and 6 1/8”.

6.  Fold the paper accordion style on the score lines, back and forth. 

Working backwards from right to left: (starting with the score line closest to the shortest side of the paper) mountain fold, valley fold, mountain fold, valley fold.


Card Assembly


7.  Put some adhesive on the back of each pleat to hold the pleats together.

8.  Attach the pleated skirt fold paper to your card base in the desired location.

9.  Decorate card as desired.


Alternate – Card size 6.5” x 5” – horizontal orientation
- Double sided cardstock – cut 10” x 3”.

- Mark 5” on bottom side, mark 1 ½” down on right hand side.  Cut on angle from one mark to the other.

- Score at 5”, 5 ½”, 7” and 8 1/8”.

- Use previous directions to assemble.


Happy Times Pleated Skirt Fold Card


New technique, new stamp set and new paper to celebrate National Scrapbooking Month. I thought I'd try the Pleated Skirt Fold technique that I've been seeing everywhere.  The paper  and stamp set are the special Happy Times CMTH promos.

Inspired by Color Dare #192


Wednesday, April 27, 2016

Turning 18

The colour challenge really comes in handy when you have to make a card and don't know where to start.  The colours inspire the images and overall look and before you know it your card is done!

My niece is turning 18.  These bright colours reflect her youthfulness and the brightness of her future.


Supplies used:
Cardstock - Pear, Ruby and Colonial White
Inks - Pear, Honey, Gypsy and Ruby
Stamp Sets - For Family C1633, Charming Cascades D1668, Life in Pictures - April 2016 Stamp of the Month S1604
Cricut cartridge - Artistry (photo frame, 18, eat cake sentiment)

Thursday, April 14, 2016

Gem baby block card

Front view

Baby block card using CTMH - C1629 Diamonds Are Forever stamp.  Inspired by the Colour Challenge # 188 from Color My Heart Color Dare Blog.

Top view

Rear view

Bottom view


C1629 Diamonds Are Forever

Baby Block Card tutorial

Singing Butterfly Adornments
Darcel Kirvan – An Independent Close to my Heart Consultant

Baby Block Card


Supplies Needed:
-         - Scoring board & tool        - Cardstock (1 sheet of 12” x 12” paper) for card base        
-          - Other cardstock or patterned paper to decorate your card    - Adhesive of choice
-          Paper cutter          - Scissors              - Small stamps     - Inks of choice


Cutting Instructions
Cardstock for card base (12” x 12” sheet) - One 12” x 12” sheet will make two cards.
Base – 4 ½” x 12”                                              Base support – 1” x 4 ½”

Blocks (made from plain or patterned cardstock of your choice) – 1 3/8” x 1 3/8” (need 15) and 1 piece of 1 3/8” x 4 3/8”

Alternate: If you want to layer the block pieces. Cut your frame/base at 1 3/8” x 1 3/8” and the top/decorative layer at 1 ¼” x 1 ¼”. (cut 15 of each)

Scoring Instructions


1.     1.  Card base (4 ½” x 12” piece) – Score every 1 ½”  at 1 ½”, 3”, 4 ½”, 6”, 7 ½”, 9” and 10 ½”.


 2.  Turn the card base vertically.  Score at 1 ½” and 3”.  (The scoring lines should cross each other and create a series of small squares.)


3.  Score the base support piece in half (1” x 4 ½” piece) at ½”.


Additional Cutting Instructions
4.  Cut out the bottom and middle square of the fourth row. (Paper is upside down and backwards in the image below.)


5.  Cut out the bottom square in both the third and fifth row.


6.  Cut across the top of the bottom square in both the second and the sixth row.

7.  Cut across the top of the middle square in both the third and fifth row.

Folding and Assembly Instructions
8.  Fold/bend back the squares that you cut along the tops of.  (Bottom squares in second and sixth row.  Middle squares in third and fifth row.)


9. Top row folds:  Mountain fold between the third and fourth blocks, and the fourth and fifth blocks.

10.  Entire 8th column: Mountain fold between seventh and eighth blocks (entire length).

11.  Glue the flaps of the bottom row together and the flaps of the middle row together.


 12.  Fold the base support piece along the fold line/in half. 

13.  Glue the base support piece on the insides of both of the outer edges of the card base piece.  (The base support piece should be hidden on the inside.)  Your card can now stand up.


14. Stamp desired images or sentiments on the 1 3/8” x 4 3/8” piece.  Glue that piece to the bottom of the card. 


15.  Stamp images as desired on the block pieces (1 3/8” x 1 3/8” pieces). 

16.  Glue the block pieces onto the exterior of the card.

17.  Decorate your card as desired.


Wednesday, April 13, 2016

Green & White Dare Part 1


My first attempt at the green and white colour challenge # 187 from Color My Heart Dare.


It was great timing because I have a friend who loves green and her birthday was fast approaching.


Alas, I messed up the stamping of the sentiment and had to re-stamp on the sentiment on separate cardstock, cut it out and place it over the mistake.  As you can see in this image, the edges of this piece were quite visible, so I covered it over with more flowers and another strip of shimmer tape.  Unfortunately, I forgot to take a picture of the final card.  (I liked this simple design best though!)


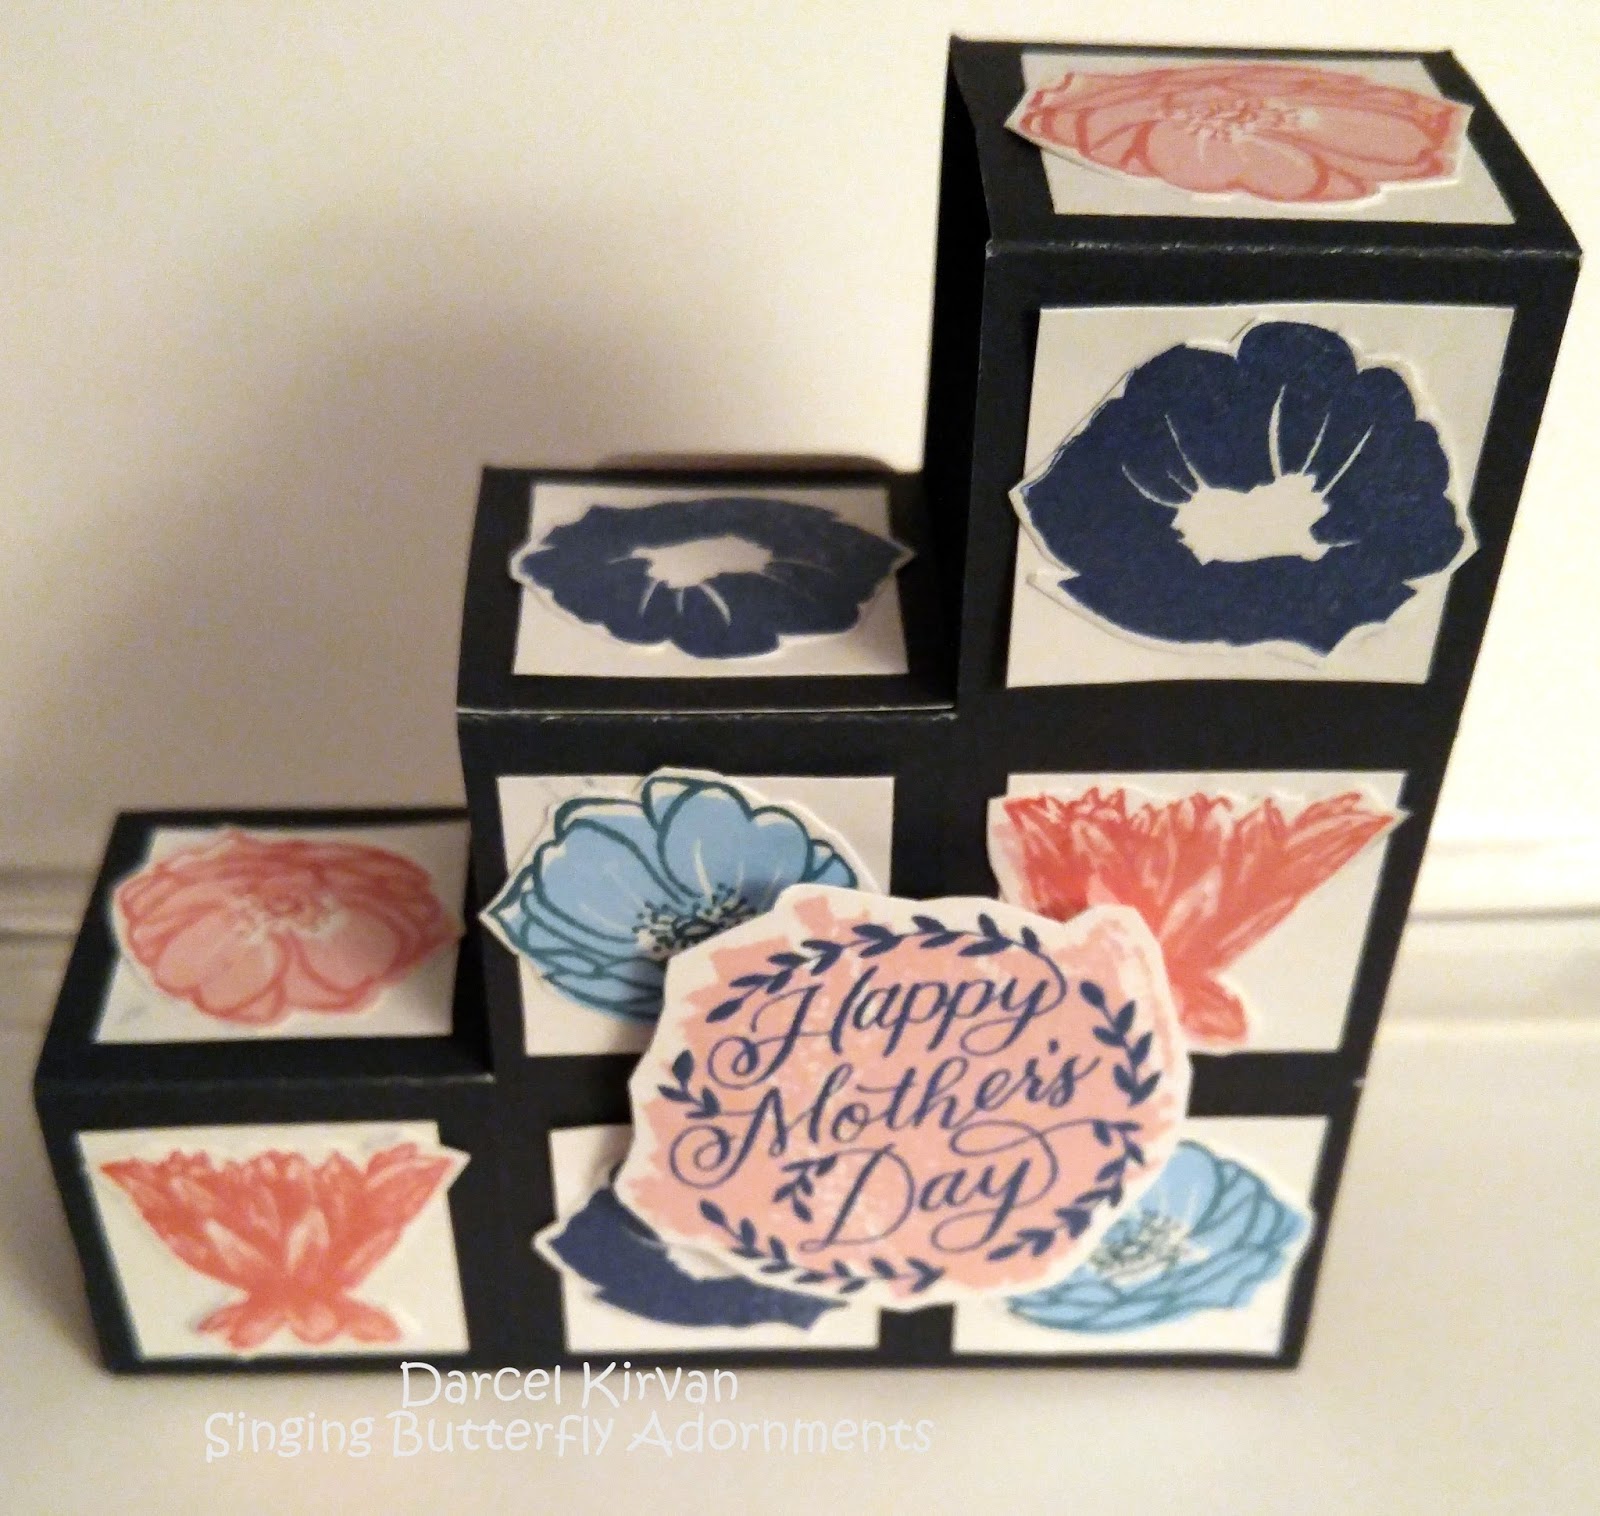
Mother's Day Baby Block card


Front, top, bottom and rear view


Front view
 
Top view
 
Rear view
 

Bottom view


To create this mother's day card, I used the following Close to My Heart products:

Stamp sets:
D1665 Blossoming Expressions
C1607 Someone Special
M1137 A Day for Mother
C1608 Brushstrokes 
also retired stamps: S1508 Framed and C1617 You're the Bomb.

Ink colours: Lagoon, Pixie, Hollyhock, Sapphire, Peacock, Sky Blue

Cardstock colours: White Daisy and Outdoor Denim (retired)


C1617 You're the Bomb (retired)


C1607 Someone Special

M1137 A Day for Mother

S1508 Framed (retired)
C1608 Brushstrokes

D1665 Blossoming Expressions


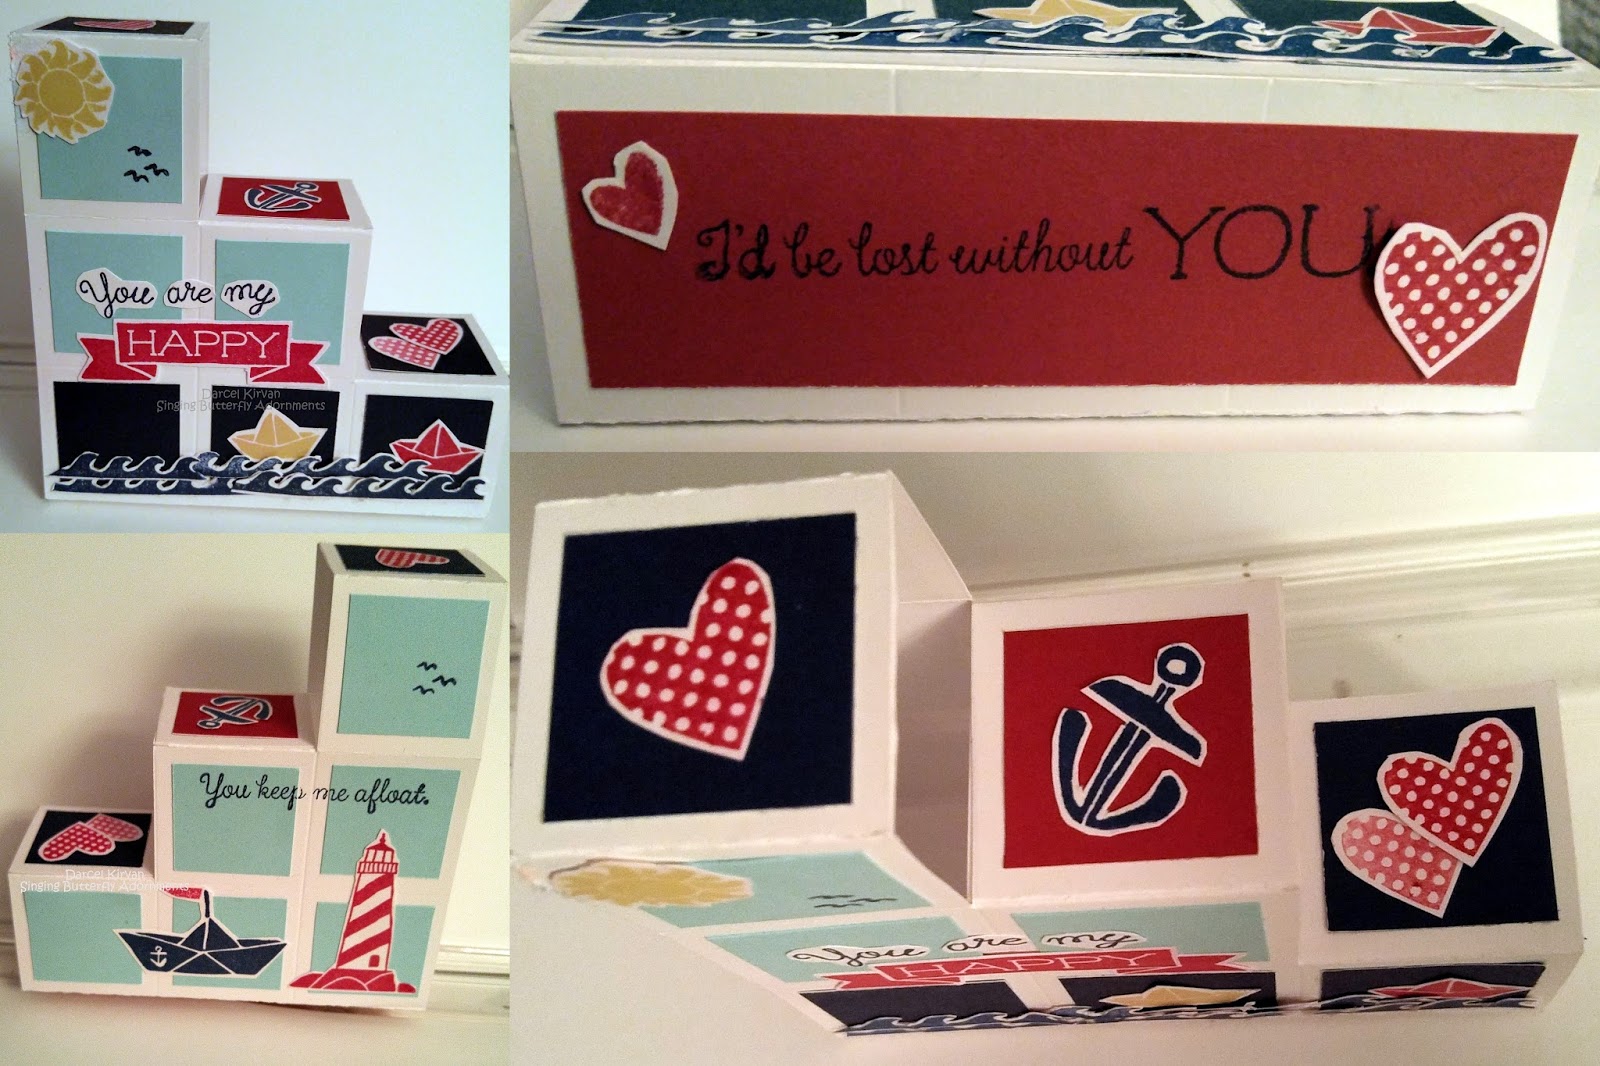
Nautical themed baby block card


A collage of the front, back, top and bottom of the card


I had a blast making this style of card.  There are so many extra surfaces to decorate that it allows a person to use most of the image and sentiment stamps from one stamp set.  It stands up all on its own to allow the receiver to proudly display the handmade card you have so lovingly crafted for them.  Best of all, it folds down to fit inside a standard envelope.


Front view of the card
 
Rear and top view of the card

Bottom view of the card
For instructions on how to make a Baby Block style of card, see my instruction post.


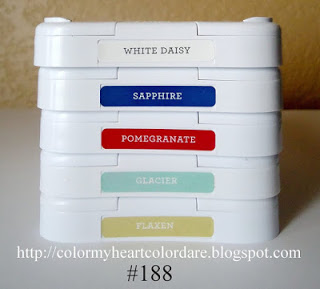
This card was inspired by the Color My Heart Color Dare challenge #188. The colours required this week are White Daisy, Sapphire, Pomegranate, Glacier and Flaxen - all colours from the Regatta paper pack.


http://colormyheartcolordare.blogspot.ca/

The card was made using the My Anchor (C1642) stamp set.


Postnote:  Oooh!  Not to brag (but I am), this is my first time winning an award for a challenge.  This card won the Emerald (1st runner up) Award.  I'm so proud!