 |
| Stamp set: Flakey Friends C1506 |
Supplies Needd:
- - Scoring
board & tool
- - Paper –
cardstock or double sided patterned paper (8.5 x 11 or 12 x12)
- - Paper
cutter
- - Scissors
- Ruler
-
Pencil & eraser
Additional Supplies:
- stamps, inks, die cuts,
embellishments, papers to decorate your card
-adhesive
- border punches
Cascade/Concertina Technique – Simple
1. Cut one piece of cardstock/patterned paper into two pieces measuring 5 ½” x 8 ½”. These will be
used for the accordion/folded part of the card.
2. Cut one piece of cardstock/paper 5 ½” x 4 ¼” for
the back of the card.
3. Score the two pieces of 5 ½” x 8 ½”
cardstock/paper at the following intervals: 2 1/8”, 4 1/4 ” and 6 3/8”. (Three
even pieces divided every 2 1/8”.)
4. Place the top edge of the 2
1/8” score line at the edge of the cutting channel of your paper trimmer. Hold that end of the paper there while
angling the remaining paper 2” past the cutting channel. Cut the paper at that angle. Repeat for the other piece. (If you want a less severe angle, position
the paper 1” beyond the cutting channel.
This will give you a look like the card in the images below.)
5. Fold the two pieces of cardstock on the
scored lines. Start with a valley fold,
followed by a mountain fold, followed by another valley fold. The paper should
look like a zigzag. Do the same for the other piece.


6. Take one
folded piece and adhere it to the back piece (5 1/2" x 4 1/4"). Line up the bottom and left side with the
outer edges of the back piece, making sure that the fold is to the inside.
Repeat this step but in reverse. The edge of the folded piece should be
matched up to the right edge of the back.
Make sure the folded edges are butted up against each other with no gaps
in the middle.

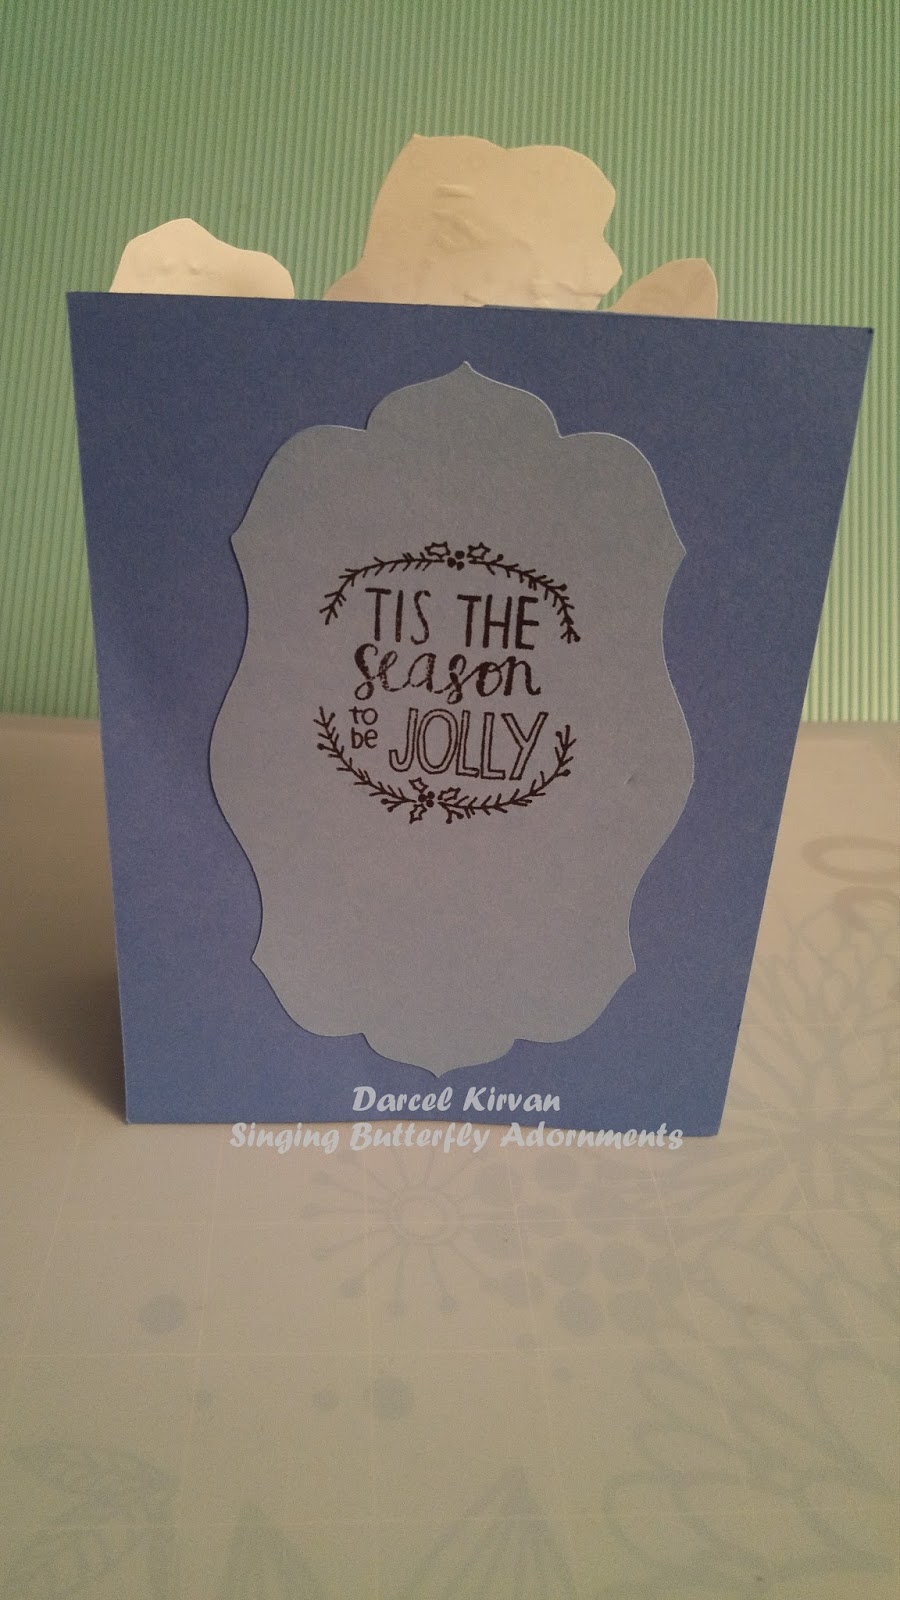
7. Cut a
piece of paper to adhere to the front of the card. This can be in any shape or size that you
want. If you plan to put a stamped image
on it, stamp the paper before adhering to the card. This piece will hold the
two sides of the fold together.
8. Decorate
your card as desired with stamped images, die cuts, embellishments and ribbons.
Note: The card will not open like a
traditional greeting card. The sentiment
that usually goes on the inside should appear on the back of the card.
Extra
Step
9. If you want to decorate the
panels of your card with coloured or patterned cardstock, cut pieces that are
2” in width, leaving the length variable.
Measure these pieces against your card base to determine the length
required for each piece.
10. Fancy edges can be added to
the top of the card by cutting border pieces using a die cut machine or border
punch.
Alternative:
During step six, have the folds facing inwards to make a card like this:
 |
| Stamp set: Wintry Wishes C1560 |


