Singing Butterfly Adornments
Darcel Kirvan – An Independent Close to my Heart Consultant
Side Step Cards
This style of card is actually very easy to make, but the depth and
dimension make it look complex. You will
impress friends and family alike. (My
husband asked if the cards were cut on the Cricut.)
Supplies Needed:
-
Cardstock and decorative papers
-
Pencil and eraser
-
Paper cutter (or craft knife and cutting mat)
-
Scoring tool and board (or paper cutter with
scoring element)
-
Stamps and inks or die cut images to decorate
the card
-
Adhesive of choice
Instructions for a 5”x7” Side
Step Card
1. Choose the cardstock
you would like to use for the base of your card and cut it so that is measures 7”
x 10”.
2. For ensured precision, I like to use
small pencil markings where the cut and fold lines will be. (You can skip this
step if you are confident or if you are well acquainted with your paper cutter
and scoring board.) Use your ruler or cutting board to measure all of the
markings and indicate with small pencil marks.
(See dimensions in steps 3, 4, 7 and 8 or refer to cutting and scoring
diagram.)
3. The first cut will be made 2” into
the paper (or for a slightly wider frame use 2.5"). I usually make a pencil mark on
both ends of the paper and match up my cutting board to those marks. The marks should be made on the short side of
the paper (7”).
4. The cut is made 2.5” in from the left
side of the paper. Line up your paper on
your cutting board. Place the cutting
blade 1” down. The cut will run from 1”
to 7.5” down. (Use the arrows on the
cutting blade to line up the proper dimensions.)
5. Cutting is now complete.
6 Place your cardstock on your
scoring board. Make sure the 10” side is
running along the upper edge of your scoring board. The score marks are going to run from the
edge to the cut line.
7. Score the paper at 1” down, 2” down,
3.5” down and 7.5” down. Run these score
marks from the edge of the paper to the cut line. The score marks should be 5” in length.
8. Do not move the paper. Now score the entire width of the card at the
5” mark. This score line will provide
the middle fold line for your card.
9. Remove your cardstock from the
scoring board. It is now time to fold the card.
I like to start with the middle fold, but you can begin at the bottom
and work to the top (or vice versa.)
10. Now to fold the steps of the card.
a) Fold the first
score line (1”) with the score line upward (mountain fold).
b) Fold the
second line (2”) with the score line downward (valley fold).
c) Continue on in
this pattern – up then down or mountain then valley fold. Third line (3.5”) is up/mountain. Fourth line (5”) is down/valley. (You will actually be reversing the existing
fold if you starting by folding the card in half.) Fifth line (7.5”) is up/mountain.
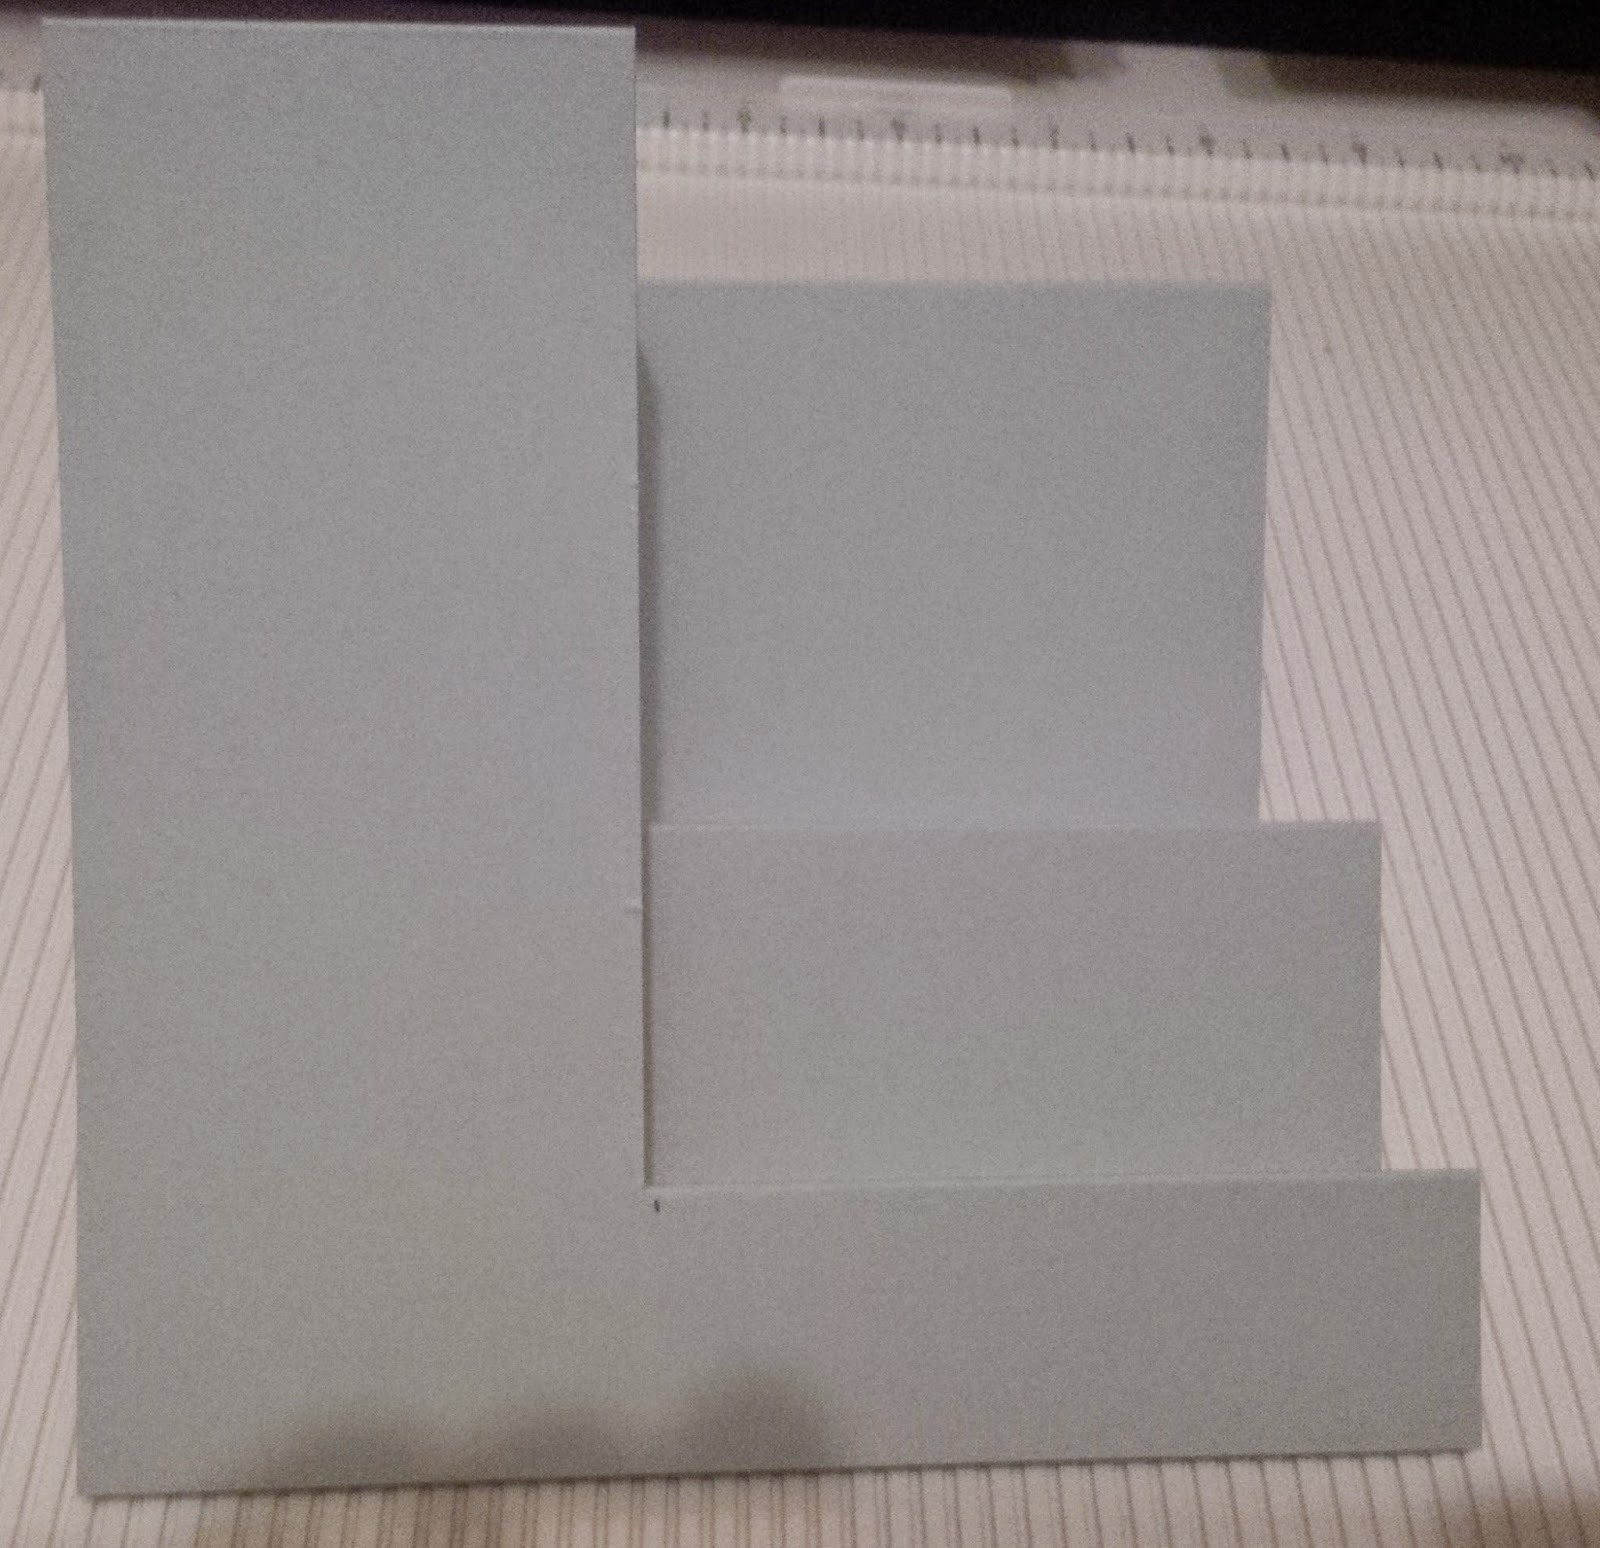
Your folded card
base should now look like this:
11. Decorate with stamps,
die cuts and paper as desired.
Tip: You can reverse the card and have the steps
on the left side.
Alternate option: a 5”x5” card
This
option creates a square shaped side step card.
1.
Cut your cardstock base so that it measures 5” x
10”.
Paper saving tip: If using a 12” piece
of cardstock, you can create two card bases from only one sheet of paper.
2.
Use the same dimensions for cutting and scoring
as used in the 5”x7” card above. Use the same folding instructions as well.
(Steps 2 through 10.)
3.
Decorate as desired using paper, stamps and die
cut images.
Supplies
Used
Monster
5x5 card
Presents,
birthday hat and cake slice stamps from A1143 Teddy Bear Birthday
Monster
stamps and “love ya silly” sentiment from B1470 Love Ya Silly
“birthday
wishes” phrase from D1514 Just a Number
Phrase
balloon from S1404 Balloon Talk
Cardstock
– Colonial White, Sky Blue plus B&T duo Heartstrings
Inks
– Cranberry, Lagoon, Blue Sky, Whisper, Hollyhock
Plus
lagoon markers, and current Peony Shin
Han marker
Cupcake
5x5 card
Cardstock
– Colonial White
B&T
Hopscotch
Stamp
set – cupcake, display tray and “everywhere” phrase from S1412 Cute Pie
“birthday
greetings” phrase from Just a Number D1514
Inks
– cupcake in Flaxen, sponged with and
marker Cherry Peony
Indian Corn Blue, Ponderosa Green