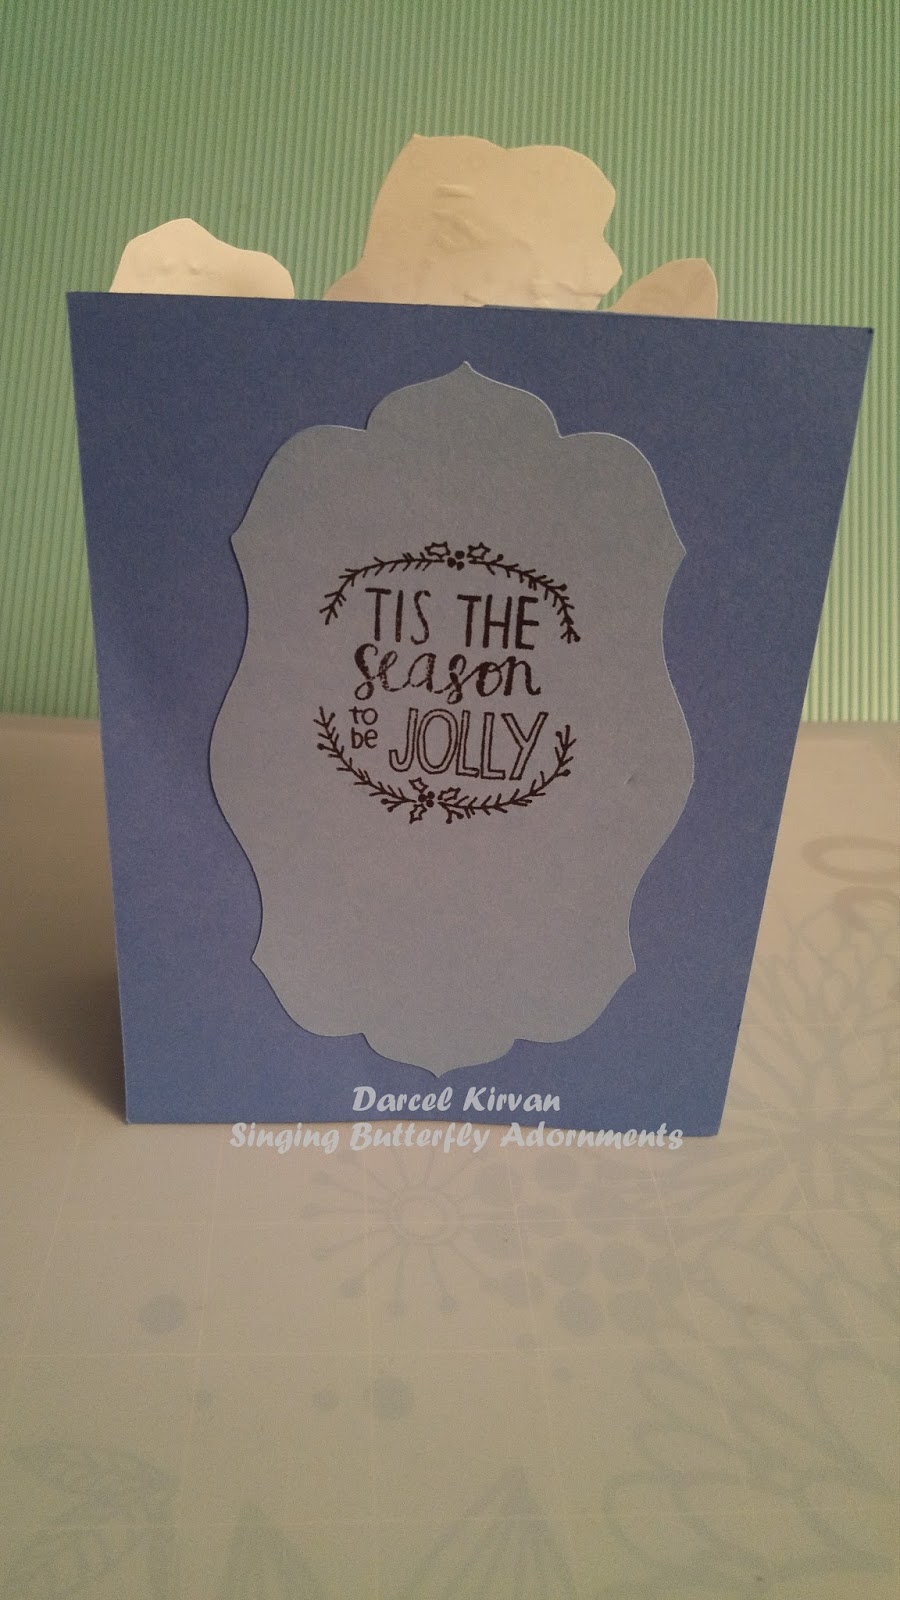
Sunday, March 27, 2016

Circle Telescoping Card

Singing Butterfly Adornments
Darcel Kirvan – An Independent Close to my Heart Consultant

Circle Telescoping Card


Supplies Needed:


-          Circle punches, die cuts or circle cutters
-          Plain or patterned cardstock
-          Brads (2-3 per card)
-          Ribbon
-          Piercing tool or scissors
-          Stamps and inks
-          Decorative elements of your choice
-          Adhesive


1.   Cut three circles (each successively 1” smaller than the previous circle.) 
Recommended sizes:  Rear: 5”, Middle: 4” and Top: 3”.

2.  If you want to add decorative layers to each level, cut circles ½” smaller than the base sizes.
Recommended sizes:  Rear: 4 1/2”,  Middle: 3 ½”, Top: 2 ½”

3.  Decorate each layer as desired with stamped images, die cuts or other embellishments.


4.  Pierce a hole in the bottom of the middle circle.  (Approximately ½” up from edge, or where desired to achieve the correct alignment/placement of the circles.)

5.  Turn the middle circle upside down and place it on top of the bottom layer. This alignment is the most difficult step in making these types of cards.

6.  Use the hole in the middle circle as a guide for placement of the hole in the bottom layer.  Pierce a hole in the bottom layer.

7.  Attach the middle and bottom layers together by inserting a brad through the two holes.

8.  Pierce a hole in the bottom of the smallest/ top circle.

9.  Turn the smallest/top circle upside down and place it on top of the middle layer.

10.  Use the hole in the smallest/top circle as a guide for placement of the hole at the top of the middle layer.  Pierce a hole in the middle layer. 

11.  Attach the smallest/top layer to the middle layer by inserting a brad through the two holes.
 
12.  Attach a short loop of ribbon to the top (rear side) of the smallest/top layer.  You can attach the ribbon with another brad or use adhesive.  (The ribbon is used to hang the card up.)


13.  Rotate the top layer so that it is on top of the middle layer.  Rotate the top and middle layer so that the card appears to be one single circle.


Easter Bunny Circle Telescoping Card

Singing Butterfly Adornments
Darcel Kirvan – An Independent Close to my Heart Consultant

Easter Bunny Circle Telescopic Card


Supplies Needed:
- supplies required for general circle telescoping card
- Cricut machine, mat and supplies
- Cricut Art Philosophy cartridge
- googly eyes
- stamp for Easter sentiment

Cutting Instructions:
Ears (white cardstock)
Page 59 – Cut 2 of the petal #2 at 2.5”

Inside Ears (pink cardstock)
Page 59 – Cut 2 of the petal #2 at 1.5”.

Stomach (pink cardstock)
Page 42 – Cut 1 of the oval #3 at 2”.

Feet (white cardstock)
Page 42 – Cut 2 of oval #3 at 1.5”.

Foot lining (pink cardstock)
Page 42 – Cut 2 of oval #3 at 1”.

1. Follow the assembly instructions for the circle telescoping card.

2.  In step #3, attach the ears to the small/top circle. Attach the stomach lining to the middle 
circle.  Attach the feet to the large/bottom circle.  Decorate the face and the rest of the card
as desired.  


Simple Heat Embossing Technique

Heat Embossing Technique
This technique allows you to add dimension and texture to your stamped images.

Supplies Needed:


-          Embossing ink (eg: VersaMark)
-          Embossing powder (colour of your choice)
-          Powder tray or scrap paper
-          Craft heat tool
-          Stamp of your choice
-          Cardstock


1.   Press stamp into the embossing ink.  The ink is clear so make sure the stamp gets covered completely with ink.

2.  Stamp the image on a piece of cardstock.

3.  Pour embossing powder over the stamped image.  Gently shake the cardstock to make sure that the powder covers the entire image.  

4.  Shake the excess powder off into the powder tray (or onto a scrap piece of paper).  Tap the back of your stamped cardstock to get the extra bits of powder off the cardstock.

5.  Using the powder tray or scrap paper, pour the remaining powder back into the container.

6.  Heat the powdered image using your crafter heater.  Don’t hold the heater too close to the paper. I suggest a distance of about 1”.  (Some people recommend holding the heat to the back side of the paper to avoid burning the image.)

7.  Heat the powder until it melts.  When fully melted, the powder will look shiny. 

*This is the trickiest part of the process. If you don’t heat the powder enough, it won’t set and will brush or shake off of the image.  If you heat it too long, you can burn it.*

8.  Let image cool.


9.  Decorate card as desired.

Emboss Resist Technique

Emboss Resist Technique
Supplies Needed:
-          Same supplies as used in heat embossing (embossing ink, embossing powder, craft heat tool
-          Clear embossing powder
-          Inks in colours of your choice
-          Stipple brush, dauber, brayer or other tool to apply ink
-          Paper towel or cloth
-          Light coloured cardstock or card base
-          Stamps of choice
-          Other papers, accessories etc. to complete your card


1.   Complete steps 1 – 8 of the heat embossing technique.  Use clear embossing powder to allow the white (or light paper colour) to show through.

2.  Once the heated image has cooled, apply coloured ink to the cardstock using tool of your choice (eg: sponge, dauber, brush, brayer).  For solid ink coverage use a brayer.   Make sure to ink over the embossed image.

3.  Use a paper towel or cloth to wipe the ink off of the embossed image (or to buff it off).  The embossed image will resist the ink.

4. Decorate card as desired.


Saturday, February 13, 2016

Simple Valentine's Day Cards

They say that it's the thought that counts - so even a simple, handmade Valentine's Day card can show you care.


The CTMH Share The Love CC1060 stamp is featured for the month of February only. This D sized stamp features phrases and images that can be used to tell friends, family and other loved ones that you care.  As an added bonus, $7USD for each stamp sold is donated to the charity Operation Smile.  

My first two valentine's cards feature images and sentiments from this special stamp.


A mini card
Ink colour: Ruby
Embossing powder: Clear Z2088


The rest of the Valentine's Day cards feature the emboss resist technique using clear embossing powder (Z2088).


Floral image & sentiment from Someone Special C1607
Ink colours: Ruby, Lagoon and Pixie
Cardstock: White Daisy, Lagoon and Pixie

Image from Quick Cards: Butterfly A1120 (Retired)
Ink colours: Gypsy, Lagoon, Pixie
Cardstock: White Daisy, Lagoon and Pixie

Floral image from Someone Special C1607
Sentiment from Coming Up Roses C1579 - RETIRED
Ink colours: Ruby, Pixie and Black
Embellishment: White Shimmer Trim Z3024


Sentiment & images from To the Moon B1507
Ink colours: Sapphire and Twilight (retired colour)


Thanks for visiting, now follow this link to Heather's blog.

Saturday, January 2, 2016

Cascade cards for milestone occassions


The "complex" cascade card really isn't as complex as it seems.  The key is precision when cutting and measuring.  If this is done properly, the two halves of the card base slide together easily.

To make my cards, I followed the instructions and detailed diagrams found at:

This cascade card is to celebrate the 50th wedding anniversary of my parents.  I used a white and gold colour scheme to commemorate this golden anniversary. The cardstock is CTMH White Daisy.  (All of the gold cardstock is non-CTMH).  

The images on the card are a combination of diecuts using CTMH Cricut Art Philosophy cartridge and heat embossing using the gold embossing powder (Z2066) and the January 2016 Stamp of the Month: Beloved Bouquet (S1601).


Sunday, December 20, 2015

Simple Cascade cards for Christmas

Stamp set: Flakey Friends C1506


Supplies Needd:
-        -    Scoring board & tool               
-    - Paper – cardstock or double sided patterned paper (8.5 x 11 or 12 x12)
-         -  Paper cutter    
-    - Scissors        
     - Ruler             
     - Pencil & eraser

Additional Supplies: 
- stamps, inks, die cuts, embellishments, papers to decorate your card
-adhesive                    
- border punches

Cascade/Concertina Technique – Simple
1.  Cut one piece of cardstock/patterned paper into two pieces measuring 5 ½” x 8 ½”.  These will be used for the accordion/folded part of the card.

2.  Cut one piece of cardstock/paper 5 ½” x 4 ¼” for the back of the card.

3.  Score the two pieces of 5 ½” x 8 ½” cardstock/paper at the following intervals: 2 1/8”, 4 1/4 ” and 6 3/8”. (Three even pieces divided every 2 1/8”.)

4.  Place the top edge of the 2 1/8” score line at the edge of the cutting channel of your paper trimmer.  Hold that end of the paper there while angling the remaining paper 2” past the cutting channel.  Cut the paper at that angle.  Repeat for the other piece.  (If you want a less severe angle, position the paper 1” beyond the cutting channel.  This will give you a look like the card in the images below.)

5.  Fold the two pieces of cardstock on the scored lines.  Start with a valley fold, followed by a mountain fold, followed by another valley fold. The paper should look like a zigzag. Do the same for the other piece. 


6.  Take one folded piece and adhere it to the back piece (5 1/2" x 4 1/4").  Line up the bottom and left side with the outer edges of the back piece, making sure that the fold is to the inside.

Repeat this step but in reverse.  The edge of the folded piece should be matched up to the right edge of the back.  Make sure the folded edges are butted up against each other with no gaps in the middle.


7.  Cut a piece of paper to adhere to the front of the card.  This can be in any shape or size that you want.  If you plan to put a stamped image on it, stamp the paper before adhering to the card. This piece will hold the two sides of the fold together.


8.  Decorate your card as desired with stamped images, die cuts, embellishments and ribbons.

Note: The card will not open like a traditional greeting card.  The sentiment that usually goes on the inside should appear on the back of the card.


Extra Step
9.  If you want to decorate the panels of your card with coloured or patterned cardstock, cut pieces that are 2” in width, leaving the length variable.  Measure these pieces against your card base to determine the length required for each piece.

10.  Fancy edges can be added to the top of the card by cutting border pieces using a die cut machine or border punch.
   

Alternative:
During step six, have the folds facing inwards to make a card like this:

Stamp set: Wintry Wishes C1560